🐛 White Worm Culture Setup & Maintenance Guide
Share
✅ What You'll Need
-
Starter culture of white worms (from a trusted source)
-
Plastic or glass container with a lid (shoebox-sized or similar)
-
Growing medium:
-
Coconut coir (preferred)
-
Potting soil (organic, pesticide-free)
-
Peat moss (optional blend)
-
-
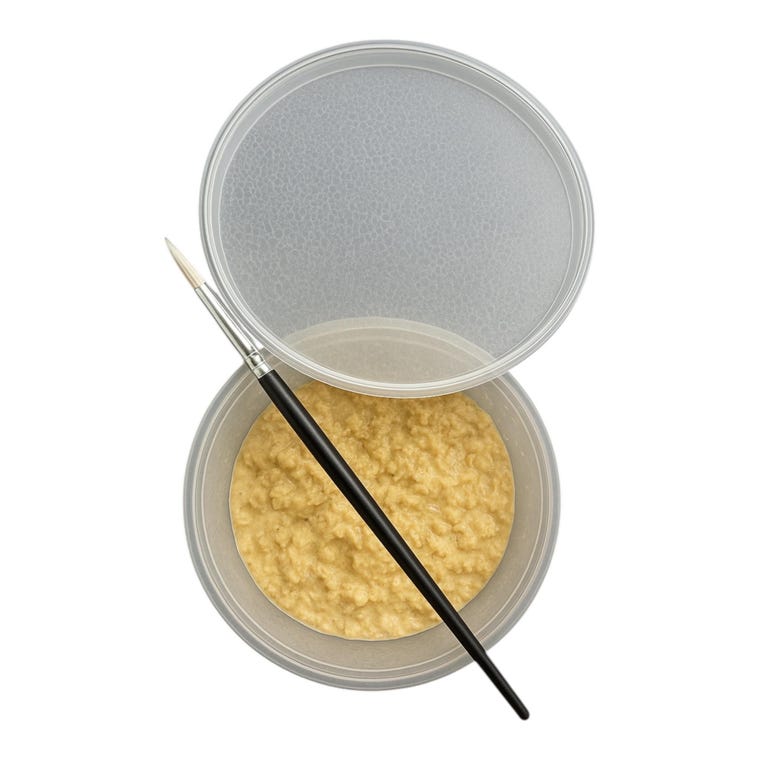
Food:
-
White bread (no preservatives) soaked in milk
-
Oatmeal or powdered fish food
-
Plain mashed potatoes or cereal
-
-
Spray bottle (for moisture)
-
Plastic knife or spoon (for harvesting)
-
Location: Cool, dark place (ideally 50–68°F / 10–20°C)
⚙️ Setting Up the Culture
-
Prep the Container:
-
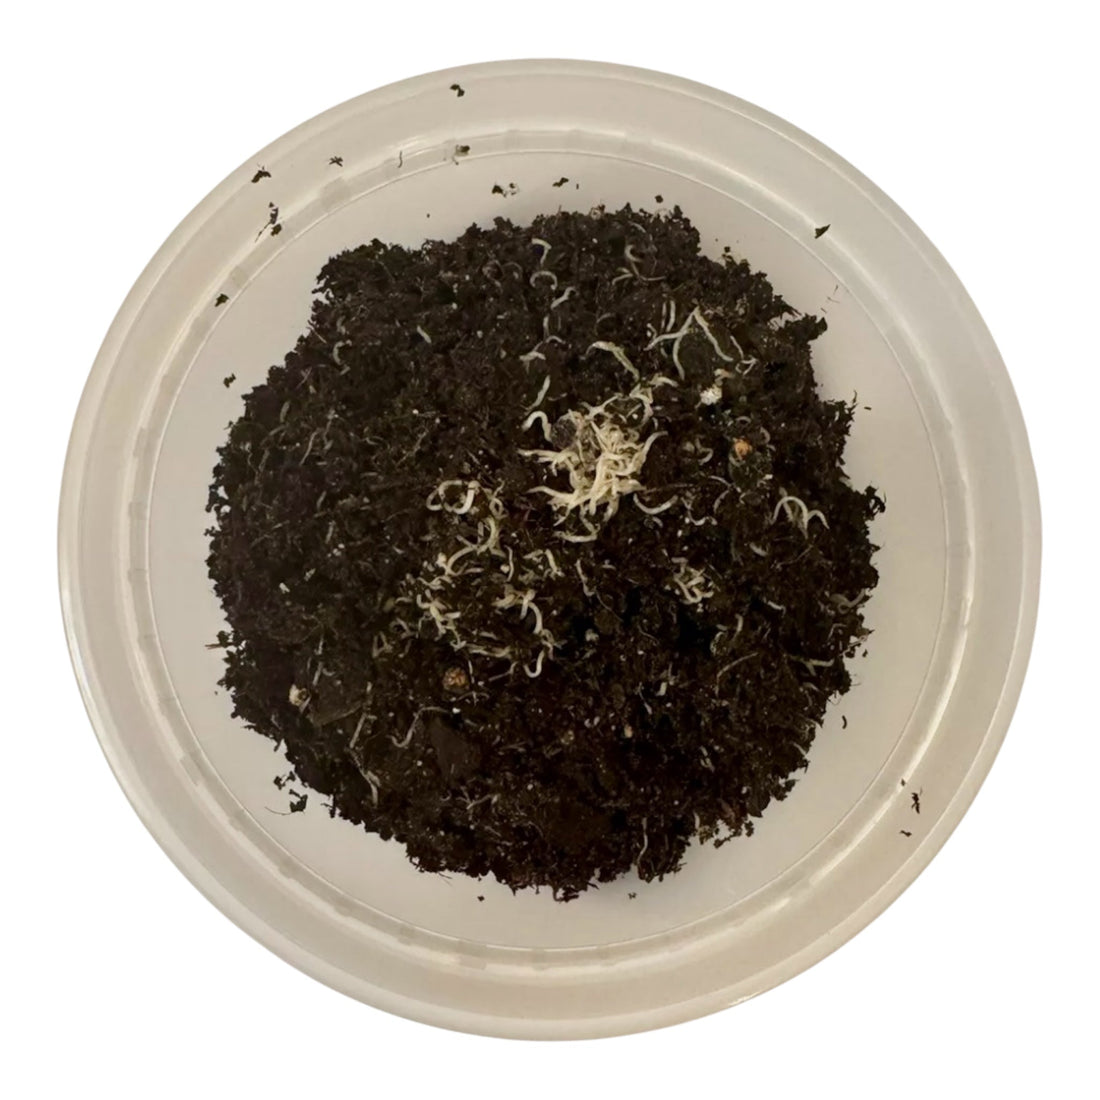
Add 1–2 inches of damp (not soggy) coconut coir or soil.
-
Punch small air holes in the lid, or leave the lid slightly ajar for airflow.
-
-
Add the Starter Culture:
-
Gently place worms and their starter medium on top of the prepared substrate.
-
-
Add Food:
-
Place a small piece of moistened bread or oatmeal on the surface.
-
Cover it lightly with plastic wrap or a piece of plastic to keep food moist and encourage worm congregation.
-
-
Cover and Store:
-
Keep the culture in a cool, dark place (a basement or lower cabinet works great).
-
Avoid temperatures above 72°F (22°C), as white worms do poorly in warm conditions.
-
🔁 Ongoing Maintenance
-
Feeding: Add new food every 2–3 days or as needed. Remove old food if it molds or goes uneaten.
-
Moisture: Mist the substrate lightly every few days to keep it damp.
-
Harvesting:
-
Use a plastic knife or finger to scrape worms off the food or plastic cover.
-
Rinse briefly in tank water before feeding to fish.
-
-
Cleaning:
-
Every 3–4 weeks, transfer worms to a new container with fresh medium to avoid mold, mites, and foul odors.
-
⚠️ Tips & Warnings
-
Avoid overfeeding: It leads to mold, pests, and die-offs.
-
Keep it cool: High temps kill cultures fast—use a wine fridge or basement if needed in summer.